Here's an Explainer to Explain how an Explainer works. I'll tell you more about the process below.
Every creative process is different. But usually it starts with a script. And then tere's tons of creative tools and ideation steps one could or could not use.
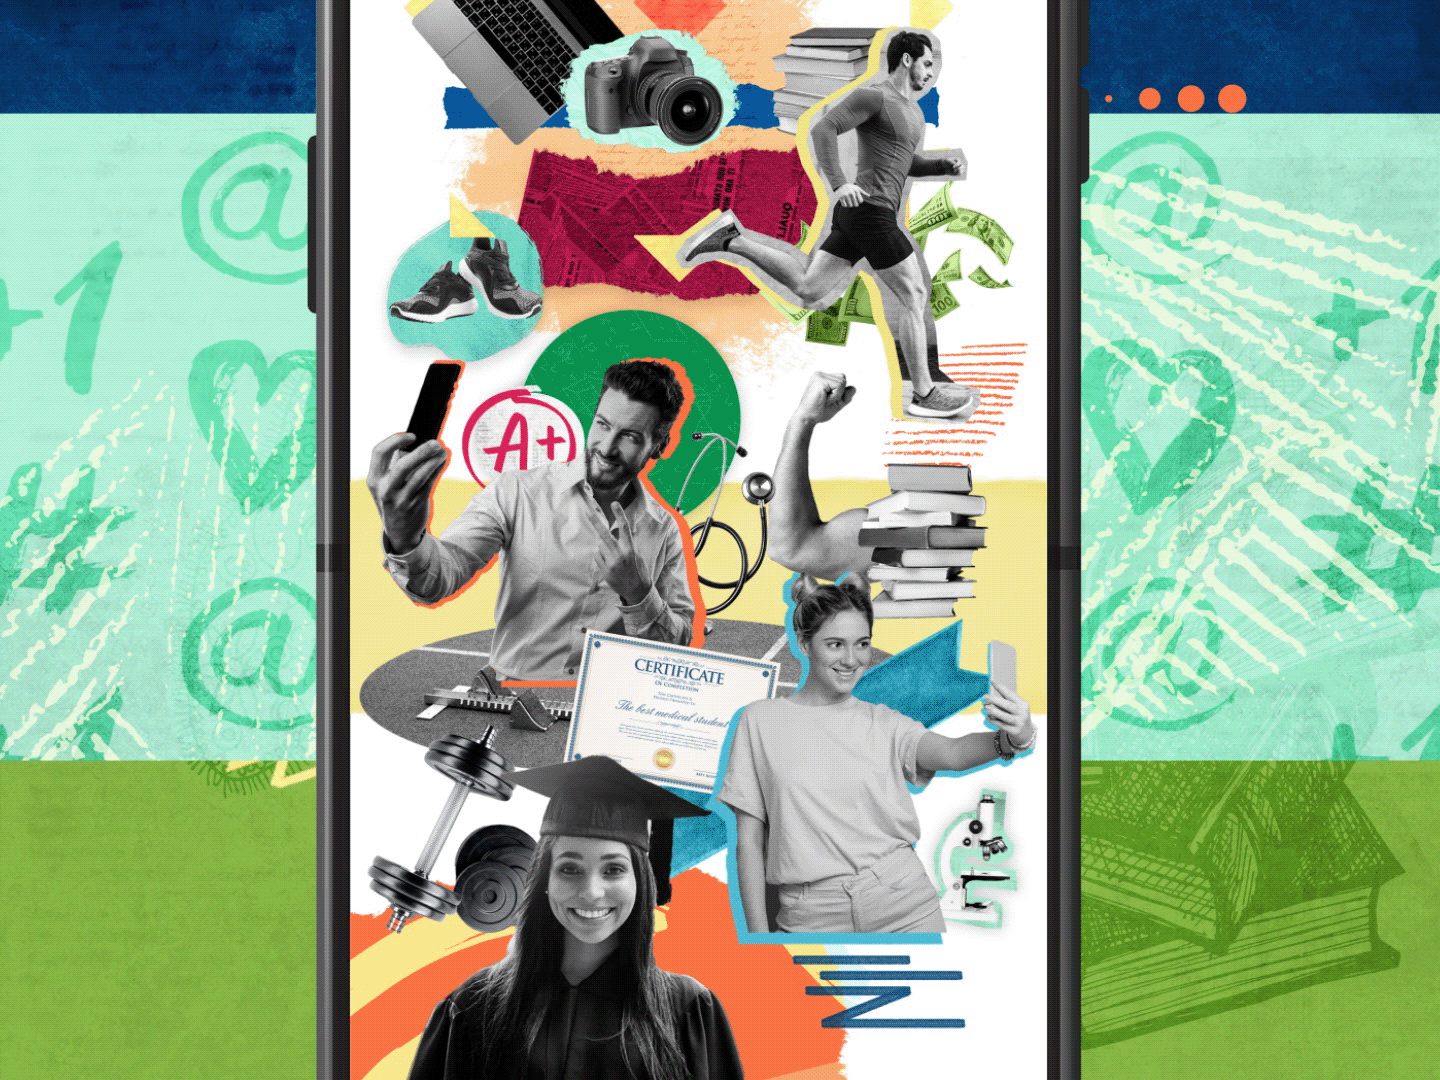
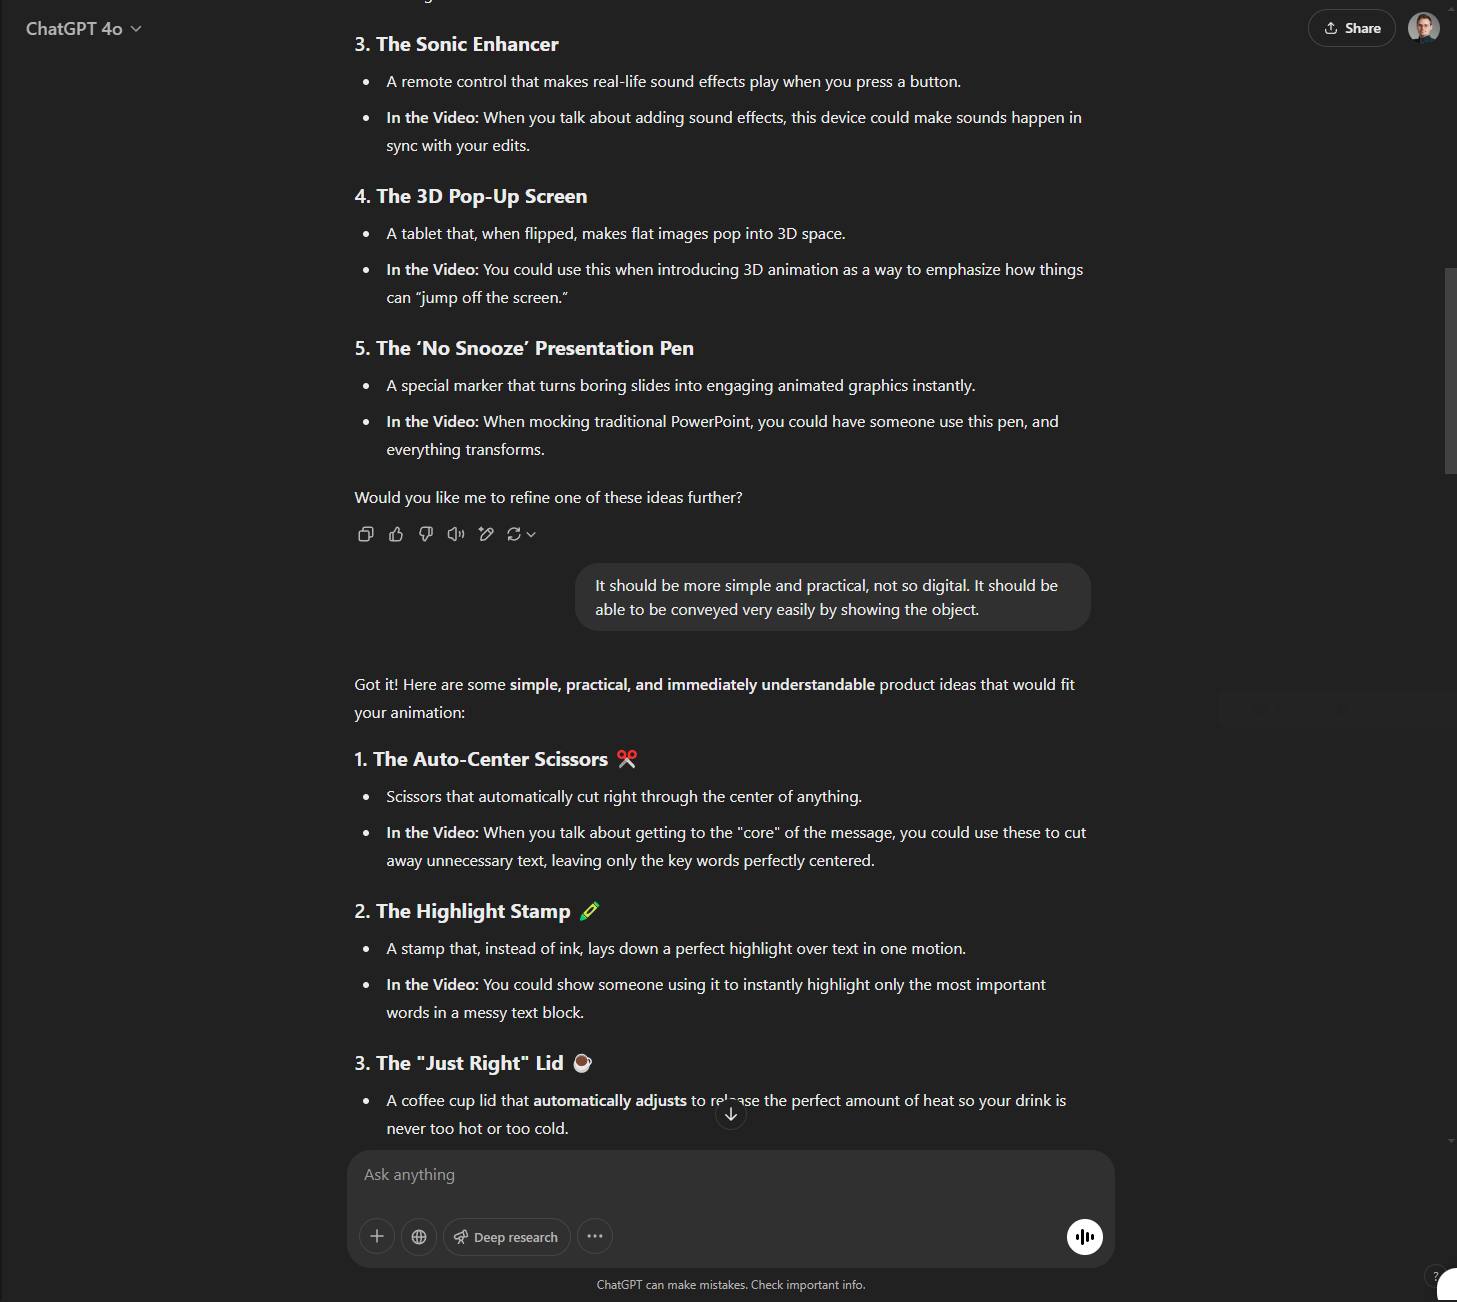
In this case, the idea just came to me and I had to write it all down. The only thing I needed a bit GPT help with was to find an example product (I ended up with the coffee pot-sized coffee mug idea).
In this case, the idea just came to me and I had to write it all down. The only thing I needed a bit GPT help with was to find an example product (I ended up with the coffee pot-sized coffee mug idea).

Then one could do some sketches, make a storyboard, a moodboard and an animatic, and use some time to establish the best workflow for the project.
Sometimes that's needed, but this time I just grabbed a color palette from Google and jumped right in.
Sometimes that's needed, but this time I just grabbed a color palette from Google and jumped right in.

For software, I used Adobe After Effects for the most part. The PowerPoint shot was of course made pretty quickly, without any design on the slide itself and using the most mainstream serif font I could find (Times New Roman).
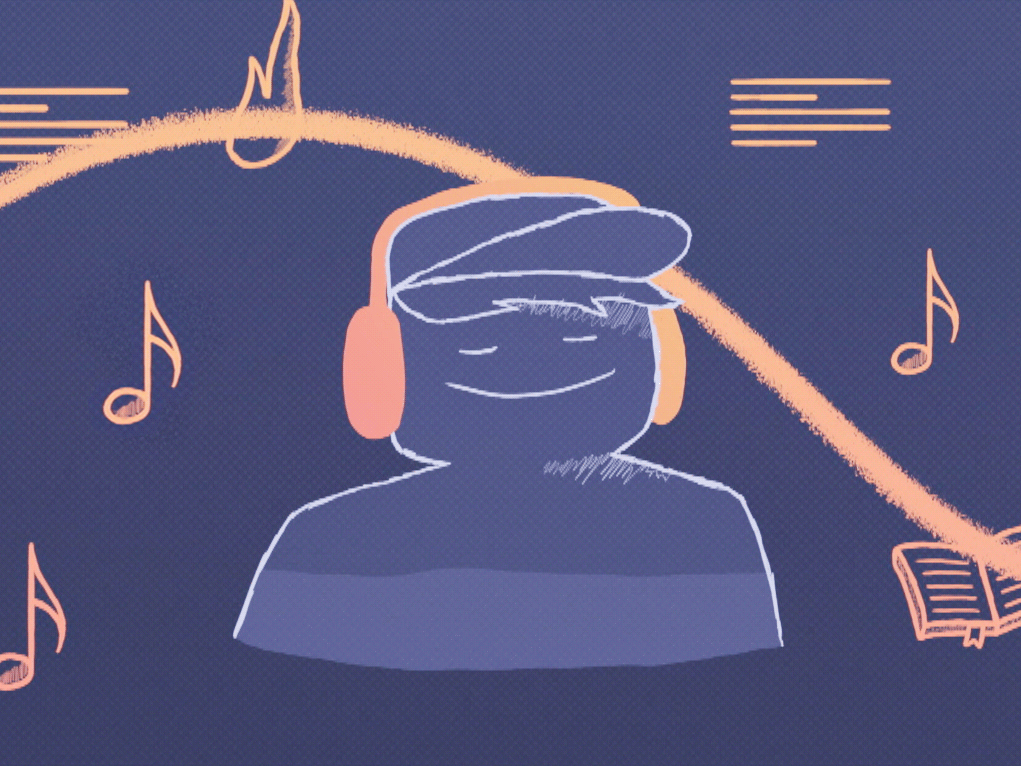
The character was just taken from Google, changed a little (to get he hands in the right gesture), rigged quickly and then animated with some expressions (coding in Ae).


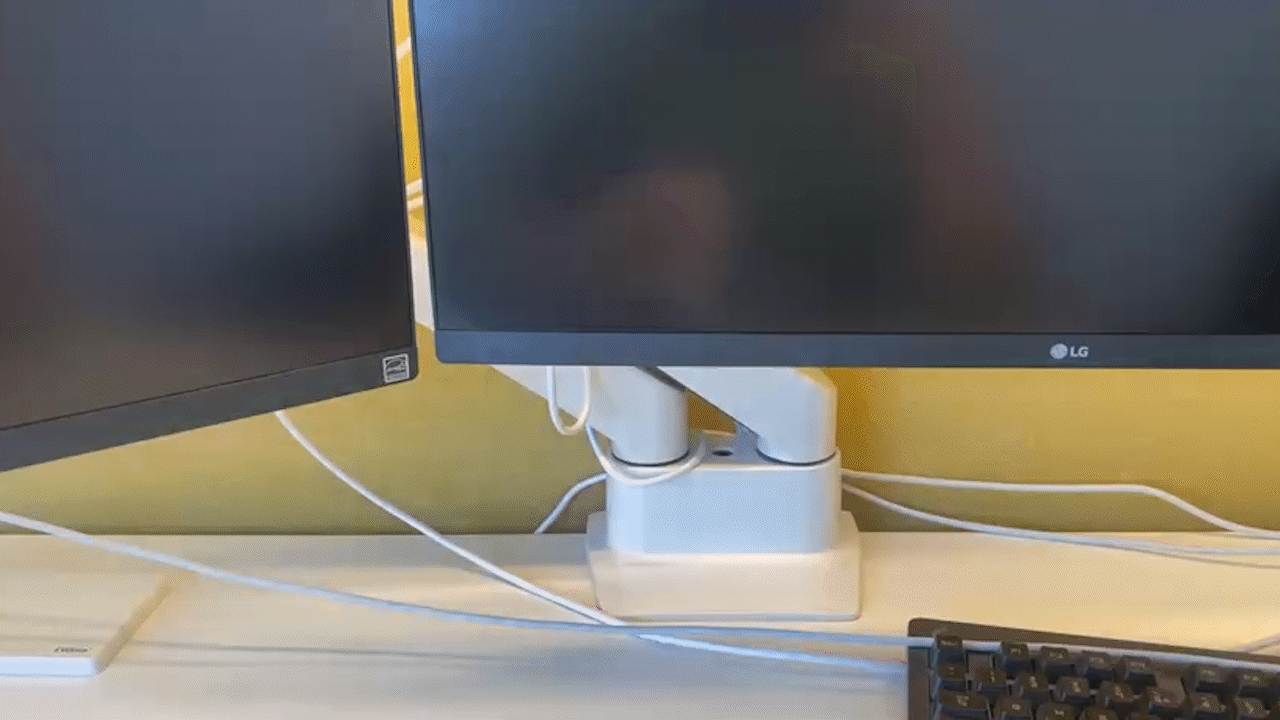
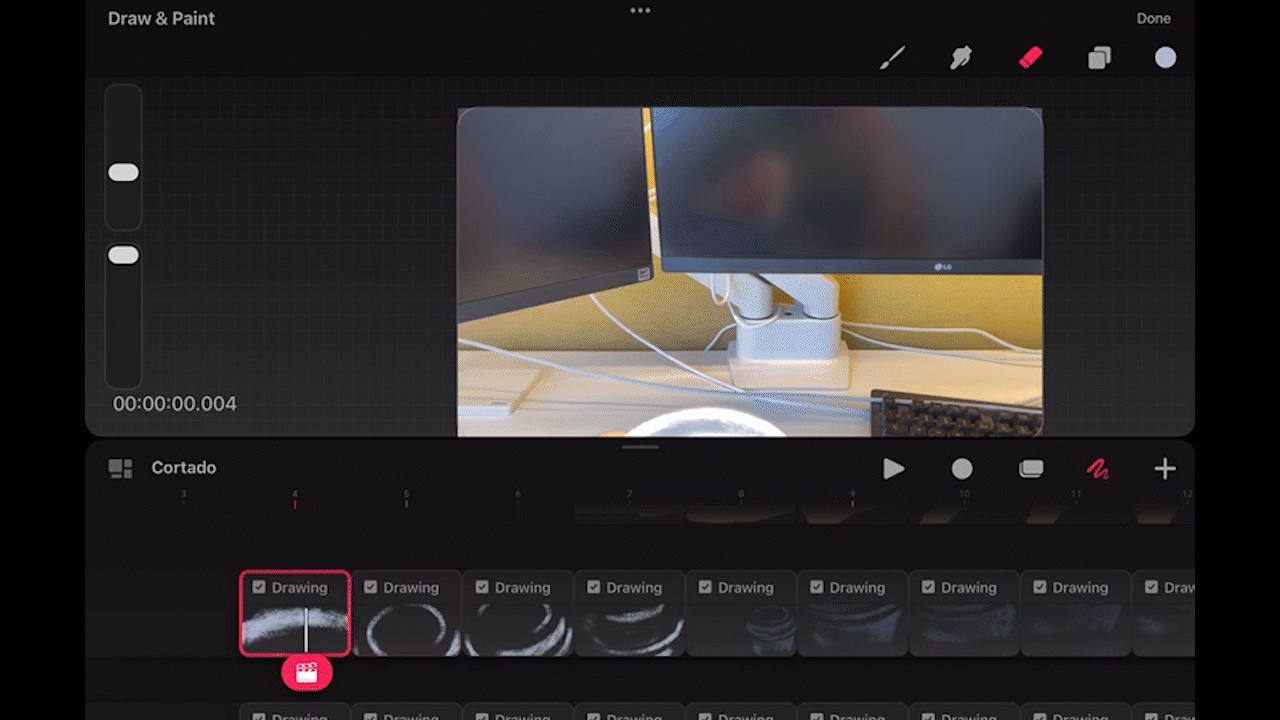
For the "Hold my cortado" shot I actually filmed myself doing it, and then I manually traced every frame in Procreate Dreams on an iPad (took about 1 day) before I put it on top of the video in Adobe After Effects. I used many layers so that I had full control over the colors afterwards.


The text transition bit was fun to do. First I made the final design, and then I found a way to transition between the black-white stuff and the designed stuff. Transitions often go antichronological, because it's most important how it ends.

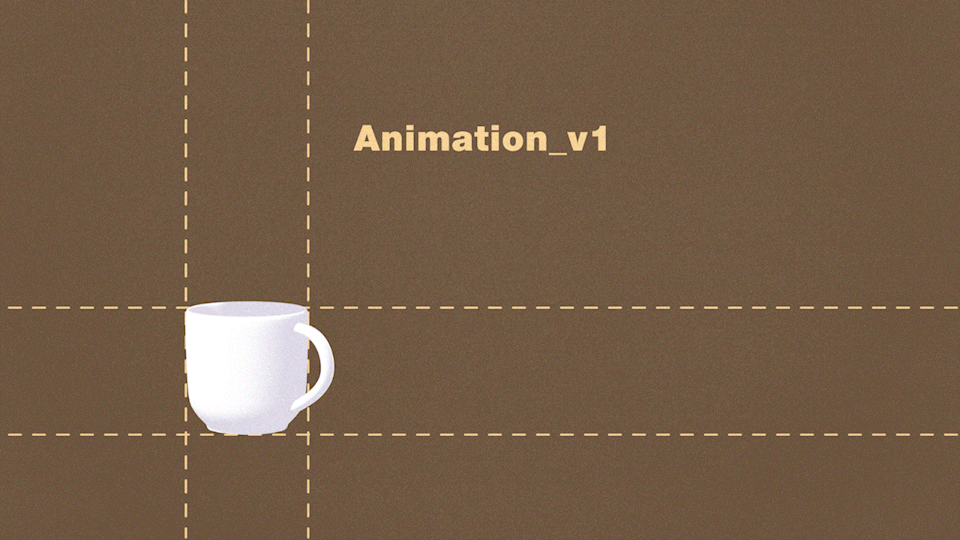
Here's an example of how I make anything move in After Effects.
v1: First comes the linear movement. It's almost robotic, there's absolutely no character to it. It's what we call "Linear interpolation".
v2: Then comes the easing, which makes it go from slow to very fast and then to slow again. I play with different "easings" until it feels exactly right.
v3: This part isn't always needed, but this is where I really finetune the movement to give it as much character as it needs. It should feel as if the object actually has volume and weight, and as if real physics are applied to it.
I used Blender to model the mug and coffee maker in 3D. Again, I did things in reverse:
-First I modeled the mug in 3D how I wanted it.
-Then I gave it a 2D look and froze it, so it looked like a 2D image.
-That way, the sudden use of 3D might surprise the viewer, but actually the mug had been 3D all along. It was just animated in 2D.
-First I modeled the mug in 3D how I wanted it.
-Then I gave it a 2D look and froze it, so it looked like a 2D image.
-That way, the sudden use of 3D might surprise the viewer, but actually the mug had been 3D all along. It was just animated in 2D.


The whole video from start to finish took me about 2 weeks.
Hope I managed to give you a little bit of insight in how I do things! Don't hesitate to ask me anything about my work or experience!